How to Edit a Craftorb Canva Template: A Step-by-Step Guide
- Craftorb
- Sep 21, 2025
- 6 min read
Updated: Jan 8

Canva has revolutionised the world of design, making it accessible to everyone, from beginners to professionals. One of its standout features is editable templates, which allow you to create polished, professional designs quickly without needing advanced design skills. If you’re creating invitations, social media graphics, business cards, or presentations, Canva templates give you a head start, and knowing how to edit them effectively ensures your final design is truly your own.
In this guide, we will walk you through every aspect of editing a Canva template: from adjusting text and images, changing colours and fonts, adding new elements, to saving and exporting your finished design. By the end of this guide, you’ll have the confidence and knowledge to customise any template efficiently and creatively.
1. Getting Started: Opening And Editing Your Canva Template
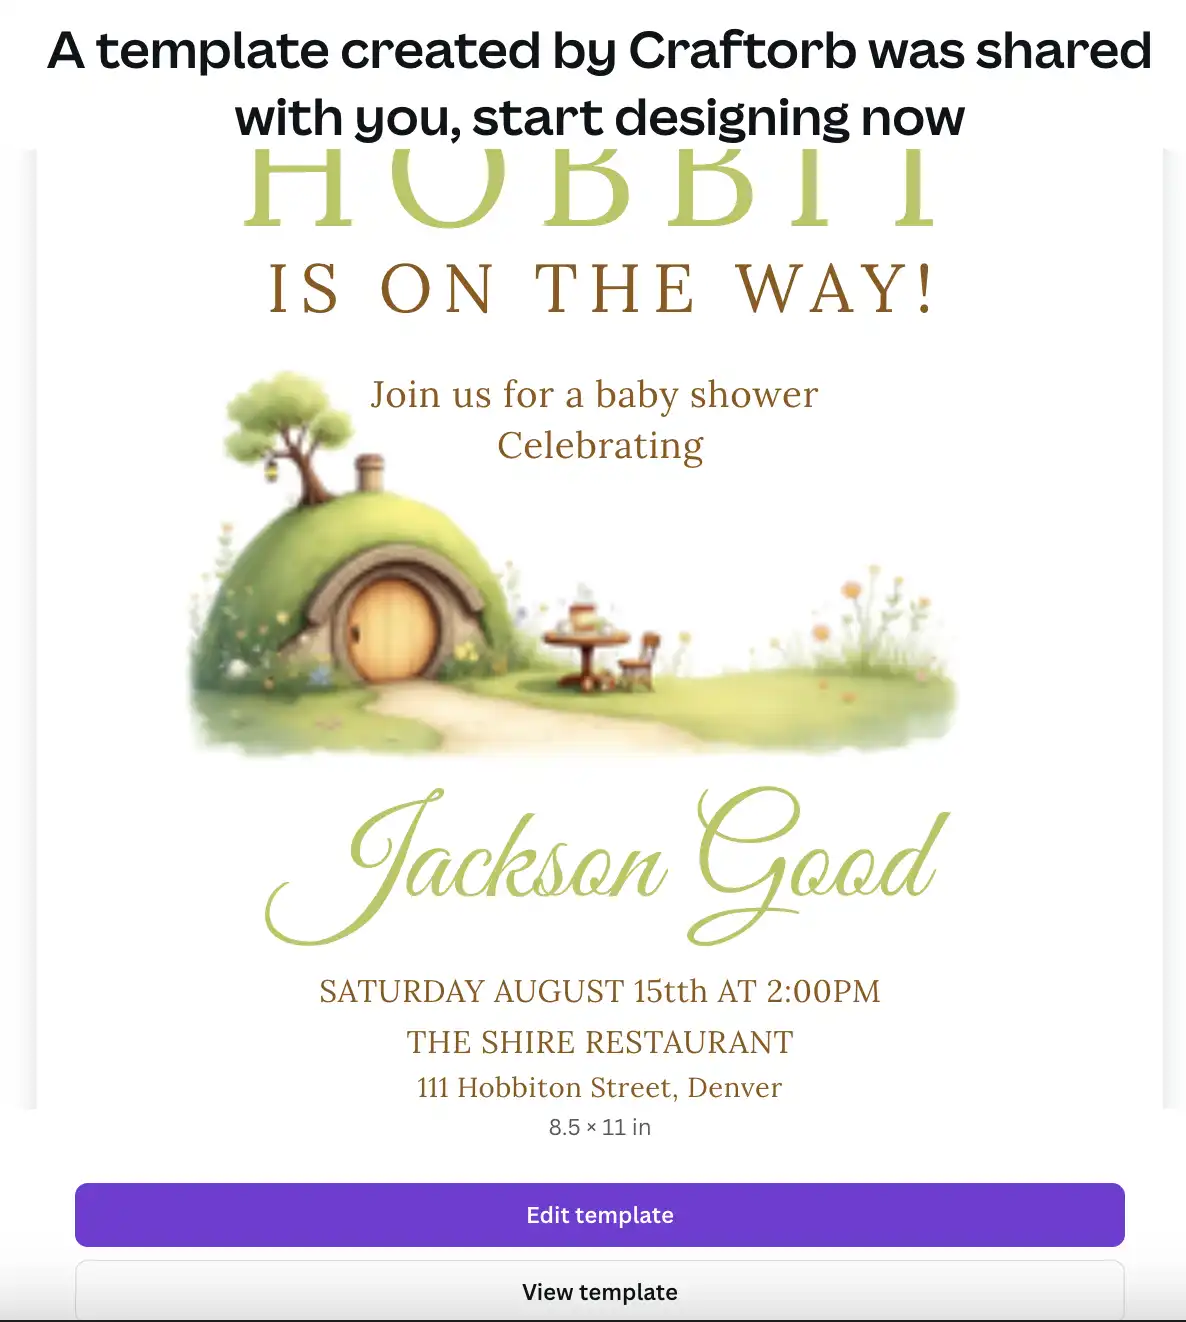
Once you've purchased the file, you'll get a PDF download with the link to the template.
Simply click the button to open it in Canva.
Step-by-Step
Open your downloaded PDF.
Click the Get My File link.
Your template opens for editing. Click Edit Template.

2. Navigating the Canva Interface
Understanding Canva’s interface makes editing templates much easier. Here are the main components:
Toolbar (Top): Offers tools for text formatting, alignment, colour changes, grouping elements, and more.
Sidebar (Left): Provides access to templates, uploads, photos, elements, text, and apps.
Canvas (Centre): Where your design appears and can be edited.
Pages Panel (Bottom): Useful if your template has multiple pages. You can add, delete, or duplicate pages.
Take a few minutes to familiarise yourself with these areas before diving in. Knowing where each tool is located will speed up the editing process.

3. Editing Text Elements
Text is often the most important part of any template. Canva makes it easy to edit text boxes without disrupting the design.
Step-by-Step
Select a Text Box: Click on any text in the template. You’ll see a bounding box appear.
Edit Content: Highlight the existing text and type in your new text. For example, replace a placeholder name or event title with your own.
Adjust Font Style: Use the top toolbar to change fonts. Canva offers hundreds of font choices, but it’s best to limit your design to 1–2 fonts for readability and professionalism.
Change Size and Colour: Adjust font size and colour in the toolbar. Ensure your text contrasts well with the background for easy readability.
Text Alignment and Spacing: Use alignment tools to centre, left-align, or right-align text. Adjust line spacing for a balanced look.
Additional Tips:
Use bold or italic sparingly to emphasise important details.
Adjust letter spacing for a modern, polished appearance.
For longer text, break it into multiple text boxes rather than squeezing it into one—this improves readability and gives your design a clean layout.
Consider the hierarchy of information: headings, subheadings, and body text should be visually distinct.
4. Customising Images and Graphics
Visuals make templates eye-catching. Canva templates usually contain placeholders for images or graphics, which you can replace with your own.
Step-by-Step
Select the Image: Click on the image you want to change.
Remove or Replace: Press Delete on the keyboard to remove the default image, then upload your own by clicking Uploads → Upload Media.
Drag to Position: Once uploaded, drag your image onto the canvas. Canva will automatically snap it into the frame if it’s a placeholder.
Resize and Crop: Double-click the image to crop. Drag corners to resize without distorting the image.

Adding Decorative Graphics
Use the Elements tab to add icons, shapes, or illustrations.
Search for terms like “flower,” “border,” or “icon” to find themed graphics.
Drag the elements into place and resize as needed.
Additional Tips
Use filters on images to ensure consistency in colour and tone.
Stick to a cohesive image style. e.g. all illustrations or all photos, for a polished appearance.
5. Adjusting Colours and Fonts

Customising colours and fonts is crucial for matching your brand or event theme.
Changing Colours:
Select the element (text, shape, or graphic).
Click the colour box in the top toolbar.
Choose a preset colour or input a hex code for consistency.
Advanced Colour Tips:
Use Canva’s colour palette generator to ensure your colours are harmonious.
Consider using gradients for backgrounds or large shapes for a more dynamic visual impact.
Stick to 3–4 colours max to maintain a cohesive look.
Changing Fonts:
Click on the text box.
Open the font dropdown in the toolbar.
Browse or search for fonts. Adjust size, spacing, and alignment.
Additional Font Tips
Pair a serif font with a sans-serif font for professional contrast.
Use font weights (light, regular, bold) to create hierarchy and make key text stand out.
Avoid decorative fonts for body text—they can hinder readability.
Tip: Limiting your design to two main fonts—one for headings and one for body text—ensures readability and keeps your design visually appealing.
6. Adding New Elements

Enhance your template by adding new elements that complement the original design.
Step-by-Step
Click the Elements tab.
Browse categories: Shapes, Lines, Frames, Illustrations, Icons.
Drag the element onto the canvas.
Resize, rotate, and position it to match the design.
Examples
Add decorative borders around an invitation.
Insert icons to indicate social media handles.
Use shapes to highlight important text.
Additional Tips
Keep your additions subtle; too many elements can make the design look cluttered.
Align elements using Canva’s grid lines to ensure symmetry.
7. Layering and Organising Design Elements

Layering ensures elements appear in the right order. For example, text should appear on top of images, not behind them.
Step-by-Step
Click the element you want to move.
Use the Position button in the toolbar to bring it forward or send it backwards.
Use Group (Ctrl/Cmd + G) to lock multiple elements together for easier movement.
Additional Tips
Name layers if your design has many elements—this helps keep everything organised.
Lock background layers to prevent accidental movement while editing other elements.
8. Using Canva’s Tools for Advanced Customisation
Canva offers several advanced tools that allow you to take your design further:
Transparency: Adjust opacity for a subtle effect.
Effects and Filters: Apply filters to photos for consistent colours.
Animations: Add movement if designing digital content.
Charts and Graphs: Useful for presentations or infographics.
Extra Tips
Use frame masking to crop images into creative shapes.
Try Canva’s blur or vignette effects for a professional touch.
9. Saving, Downloading, and Sharing Your Design

Once you’re happy with your design, it’s time to save and export.
Step-by-Step
Click Share in the top-right corner.
Select Download.
Choose the file type:
PNG: High-quality for digital use.
JPG: Standard quality for web.
PDF: Best for printing.
Click Download to save your file.
Sharing Directly
Use the Share button to send the design link.
Collaborate by granting editing access to others.
Pro Tip: Save a copy in Canva before making last-minute changes, so you can revert if needed.
10. Tips for Professional-Looking Designs
Consistency is Key: Stick to a cohesive colour palette and font style.
High-Quality Images: Avoid blurry or pixelated images.
Whitespace Matters: Give your elements room to breathe.
Preview Before Downloading: Check for spelling mistakes and alignment issues.
Stick to a Theme: Ensure all visuals match your design’s overall style.
Additional Tips
Consider your audience when customising a template; colors and fonts should reflect the intended mood or tone.
Use icons and decorative elements sparingly—they should enhance, not distract.
Test your design on multiple devices or screens to ensure it looks good in different formats.
Make use of Canva’s snap-to guides to align elements perfectly.
11. Common Mistakes to Avoid
Overcrowding Elements: Too many icons or graphics can look messy.
Inconsistent Fonts: Using too many font styles can be distracting.
Low-Contrast Text: Ensure text is readable against the background.
Ignoring Margins: Keep text and images away from edges to avoid printing issues.
Relying on Default Colours: Customising colours is key to personalising your template.
12. Conclusion

Editing Canva templates is a simple yet powerful way to create personalised designs. By following these steps, you can:
Customise text, images, colours, and fonts.
Add new design elements for a unique touch.
Organise layers and use Canva’s advanced tools for professional-quality results.
Save and export your design in the format that best suits your project.
Whether you’re designing invitations, social media graphics, or marketing materials, mastering Canva template editing gives you the flexibility to create polished, professional-looking designs in minutes.
Remember: practice makes perfect. The more you experiment with Canva, the faster and more creative your designs will become. With the tips and steps outlined here, you have everything you need to turn any Canva template into a standout, personalised design. If you'd like to purchase the template used in this guide, you can find it at Hobbit Baby Shower Invite.
Read our Ultimate Geek Gift Guide for more inspiration.


Comments